Build A Darkroom In Your Bathroom

If you love photography and you would love to develop your own photos but you don't have any outside space, what about using a room you already have? With a few basic requirements met, you can start your own dark room business.
If you are a budding photographer, you may want to know how you can build a darkroom in your bathroom in order to develop your photos. By building your own darkroom you can potentially save a lot of money otherwise spent getting your photograph negatives developed i.e.. at a camera print shop, but you will need a few tips as a bathroom darkroom will require a number of types of equipment to work.
‘Wet photography’ i.e.. the art of developing your photos using chemicals can be a very fun and productive hobby, so here are a few tips to get you started on your darkroom.
Select Your Space
First you will need a space in your home for your darkroom – generally speaking, the best place to build a darkroom is in your bathroom, as you will need a constant supply of running water, a form of electricity, space for your photos (i.e.. a shelf or counter top) and ventilation – and all of these things can usually be found in a bathroom.
The first step to building a darkroom is to close the door in the bathroom and turn off any lights. In time, your eyes will adjust to the darkness and you will be able to spot and cover up any light leaks (i.e.. areas around windows and doors in the bathroom).
Block Out All Light
Using plywood, cover any windows in the room and secure the edges with duct tape – by doing this you will block out natural light in the room, this is essential as natural light will ruin undeveloped film and photographic paper. Next you need to apply stripping around the door frame edges – this will seal the door and prevent any natural light from leaking into the room. Use weather stripping if possible and follow up by covering the door frame with a thick, dark fabric. By using this kind of fabric, you can effectively stop additional natural light from leaking in through the edges of the door or its frame.
When done, turn off the lights and check again for light leaks, covering up any that you see with duct tape or dark fabric.
Good Ventilation
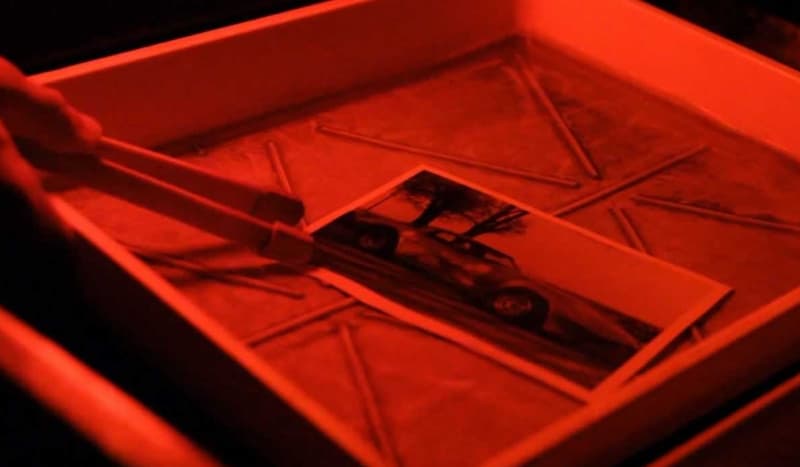
Next, check that the fan in your bathroom is working – ventilation is essential for a darkroom, it can be very dangerous to work in a sealed and unventilated room when you are using photograph developing chemicals. Now you need to set up your safelight – this kind of specialist light emits a red or amber glow that will not affect undeveloped film or photo paper – do not use a normal light, safelight units must be bought for darkrooms.
You can get a safelight unit or a bulb to fit your existing light fixture from the majority of photography supply stores.
Set Up A Table/Counter Top
Now you will need to put a table or other counter top into your shower area or bathtub and put your developing trays on the table – again, developing trays can be bought from the majority of photography supply stores at a reasonable price. Also position your photo enlarger equipment onto a solid and sturdy table or counter surface that is nearby to an electrical outlet.
Finally, when you have purchased your photographic chemicals, put them in a safe cabinet – if you have children in the house, make sure that you lock the cabinet as photographic chemicals are dangerous if left out. Make sure that all of your equipment is working and that you don’t have any potential hazards i.e.. trailing wires or unsteady work surfaces – and you are ready to go – your bathroom darkroom is ready to use when you need it.
You Might Like
How To Improve A Tired Bathroom
Don't want to spend the earth? See how you can improve your tired bathroom for you.Ideas To Decorate Your Bathroom
Decorate bathroom. A guide with practical tips on how to decorate your bathroom and make it look stunning.Best Way To Remove Bathroom Mould?
Find out the best way to remove bathroom mould with our informative article, all you need to know to make your bathroom beautiful again.Build Yourself A Home Gym
Building yourself a home gym can save huge amounts on gym memberships and this useful article gives information to build a home gymHow Lemons Can Help You Revise
Its that time of year again when revision fever hits. New research suggests that there are ways you can maximise your revision time and they include smelling lemons!
Useful Websites
- Boggio Studios
With over 10 years’ experience photographing celebrities, families and couples across the UK and worldwide, Boggio Studios provides clients with a bespoke photography service from their London studio. - Cambridge in Colour
Night photography Sean T. McHughof Cambridge University in England, with prints for sale. Digital camera tutorials, techniques, and examples available. - Photo-Images
Award winning portrait photography, makeovers, portraits, sports photography, kids portraits, model portfolios - DENNY ROWLAND
Aerial photography, aerial photo library, sports photography, banner towing, video production, environmental photography, construction industry photography - Simon Vine Photography
Specialises in industrial and commercial photography, creating images for corporate brochures, advertising, exhibitions, multimedia etc., based in Leeds - Michael Paras Photography
Photography for advertising, design, corporate, stock, medical and health and fitness creative community - Add Your Website Here